


How to Design & Prep a DTF Gang Sheet: The Ultimate Money-Saving Guide
If you are looking to maximize your profit margins for your apparel brand, DTF Gang Sheets are the "ultimate cheat code."
Instead of paying a shop to provide the shirts and do the labor, you simply buy the printed film from us and press it yourself. But there is one catch: Your print is only as good as your file. At Ink Nest, we want to make sure every square inch of your film is perfect. Here is our professional guide to designing a gang sheet that saves you money and looks retail-ready.
What Exactly is a Gang Sheet?
A "Gang Sheet" refers to printing multiple designs on a single roll of DTF film. Since we sell film by the linear foot, the goal is to "gang up" as many logos, neck labels, and graphics as possible into that space.
The Math: If you can fit 10 small chest logos on one sheet instead of 5, your cost per shirt literally drops by 50%.
Step 1: Set Up Your Canvas (The Golden Rules)
Before you start dragging and dropping images, you must set up your file correctly. Whether you are using Photoshop, Illustrator, or Canva, these three settings are recommended:
-
Resolution: 300 DPI. Anything less will look "pixelated" or blurry when printed.
-
Color Mode: CMYK. This is how printers "think." Designing in RGB can lead to colors looking duller than they did on your screen.
-
Background: Transparent. If your design has a white box around it, the printer will print that white box. Always export as a PNG with transparency.
Step 2: Maximize Your Space
Think of your gang sheet like a game of Tetris. To get the most for your money:
-
Leave "Cutting Room": Don't overlap your designs. Leave at least 0.5 inches between graphics so you have room to cut them out with scissors.
-
Fill the Gaps: Have a little extra space? Throw in some neck labels, sleeve hits, or small branding tags. These are "free" because you're already paying for the film!
-
Check Your Lines: Ensure your thinnest lines are at least 0.02 inches thick. If a line is too thin, the adhesive powder won't have enough surface area to grab onto.
Step 3: Exporting for Success
Once your sheet is full, export the file as a High-Resolution PNG.
⚠️ Pro-Tip from the Nest:
Do not "Mirror" your art. Our software handles the mirroring process automatically. If you mirror it yourself, your text will come out backwards on the shirt!
Step 4: Pressing Like a Pro (The Ghost Peel Method)
Once you receive your gang sheet from Ink Nest, the hard part is over. Now you just need a heat press.
-
Temperature: 285°F - 300°F (Depending on the fabric).
-
Pressure: Heavy pressure is key for DTF.
-
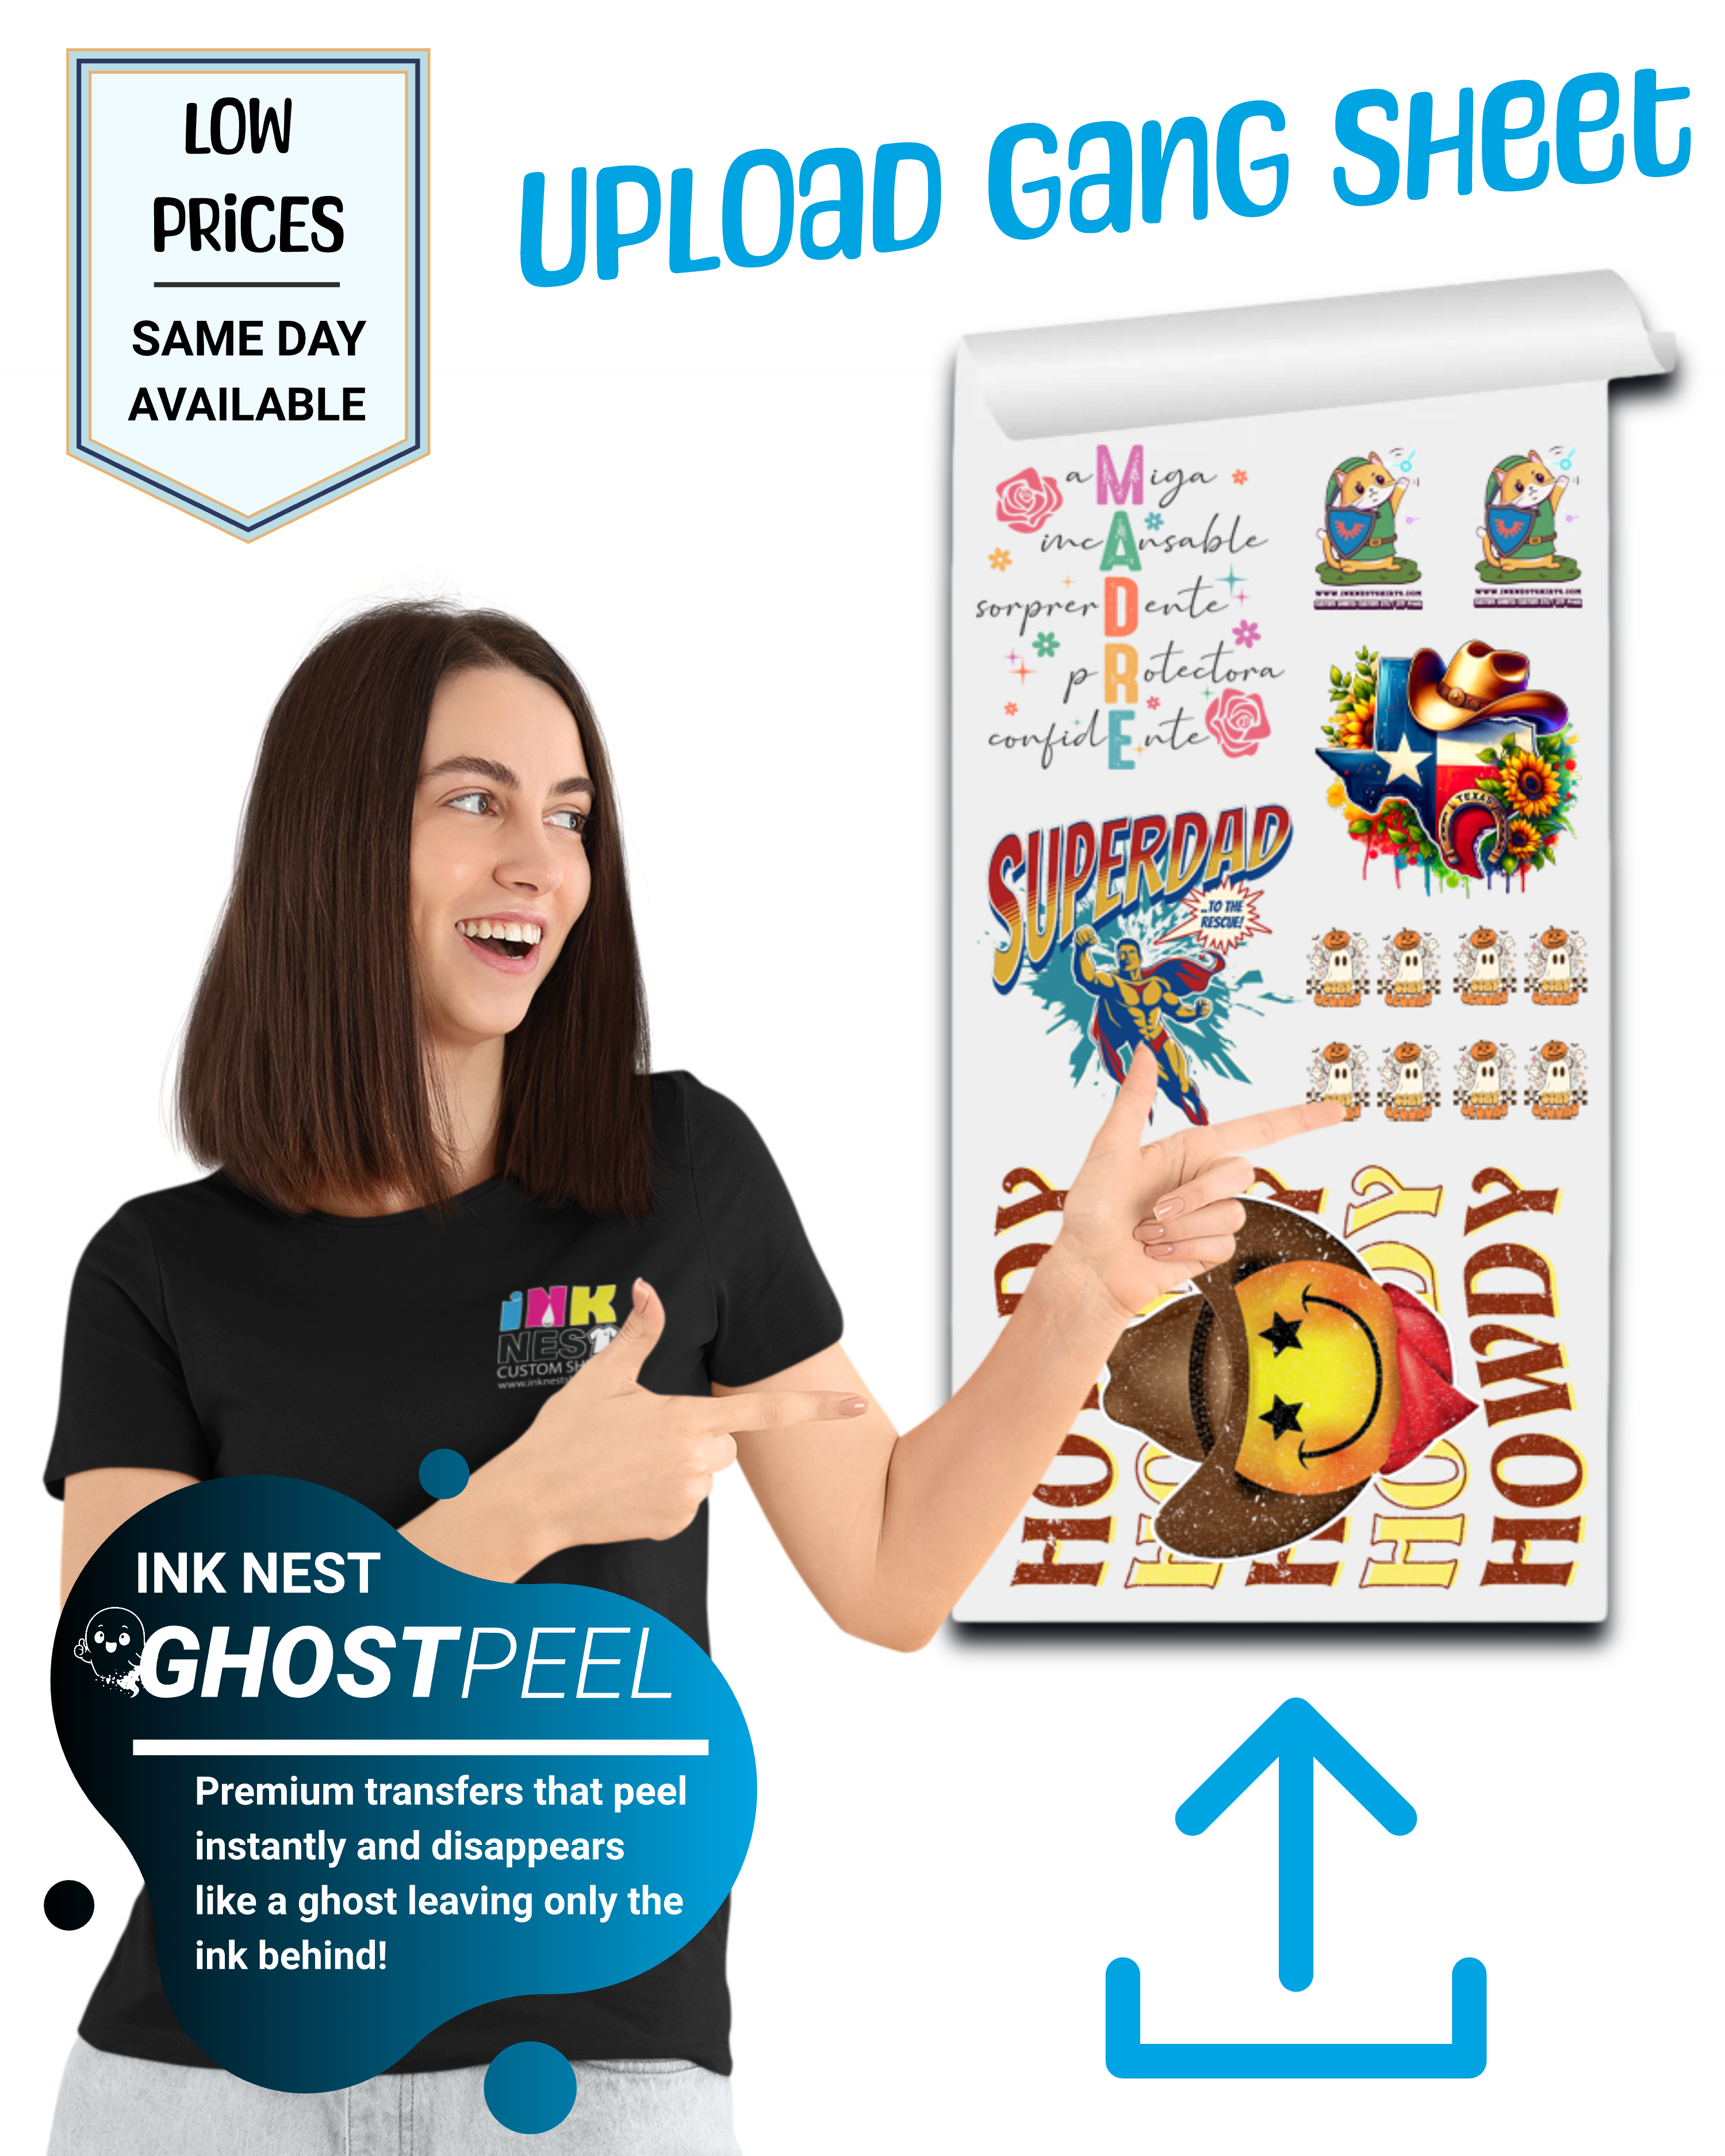
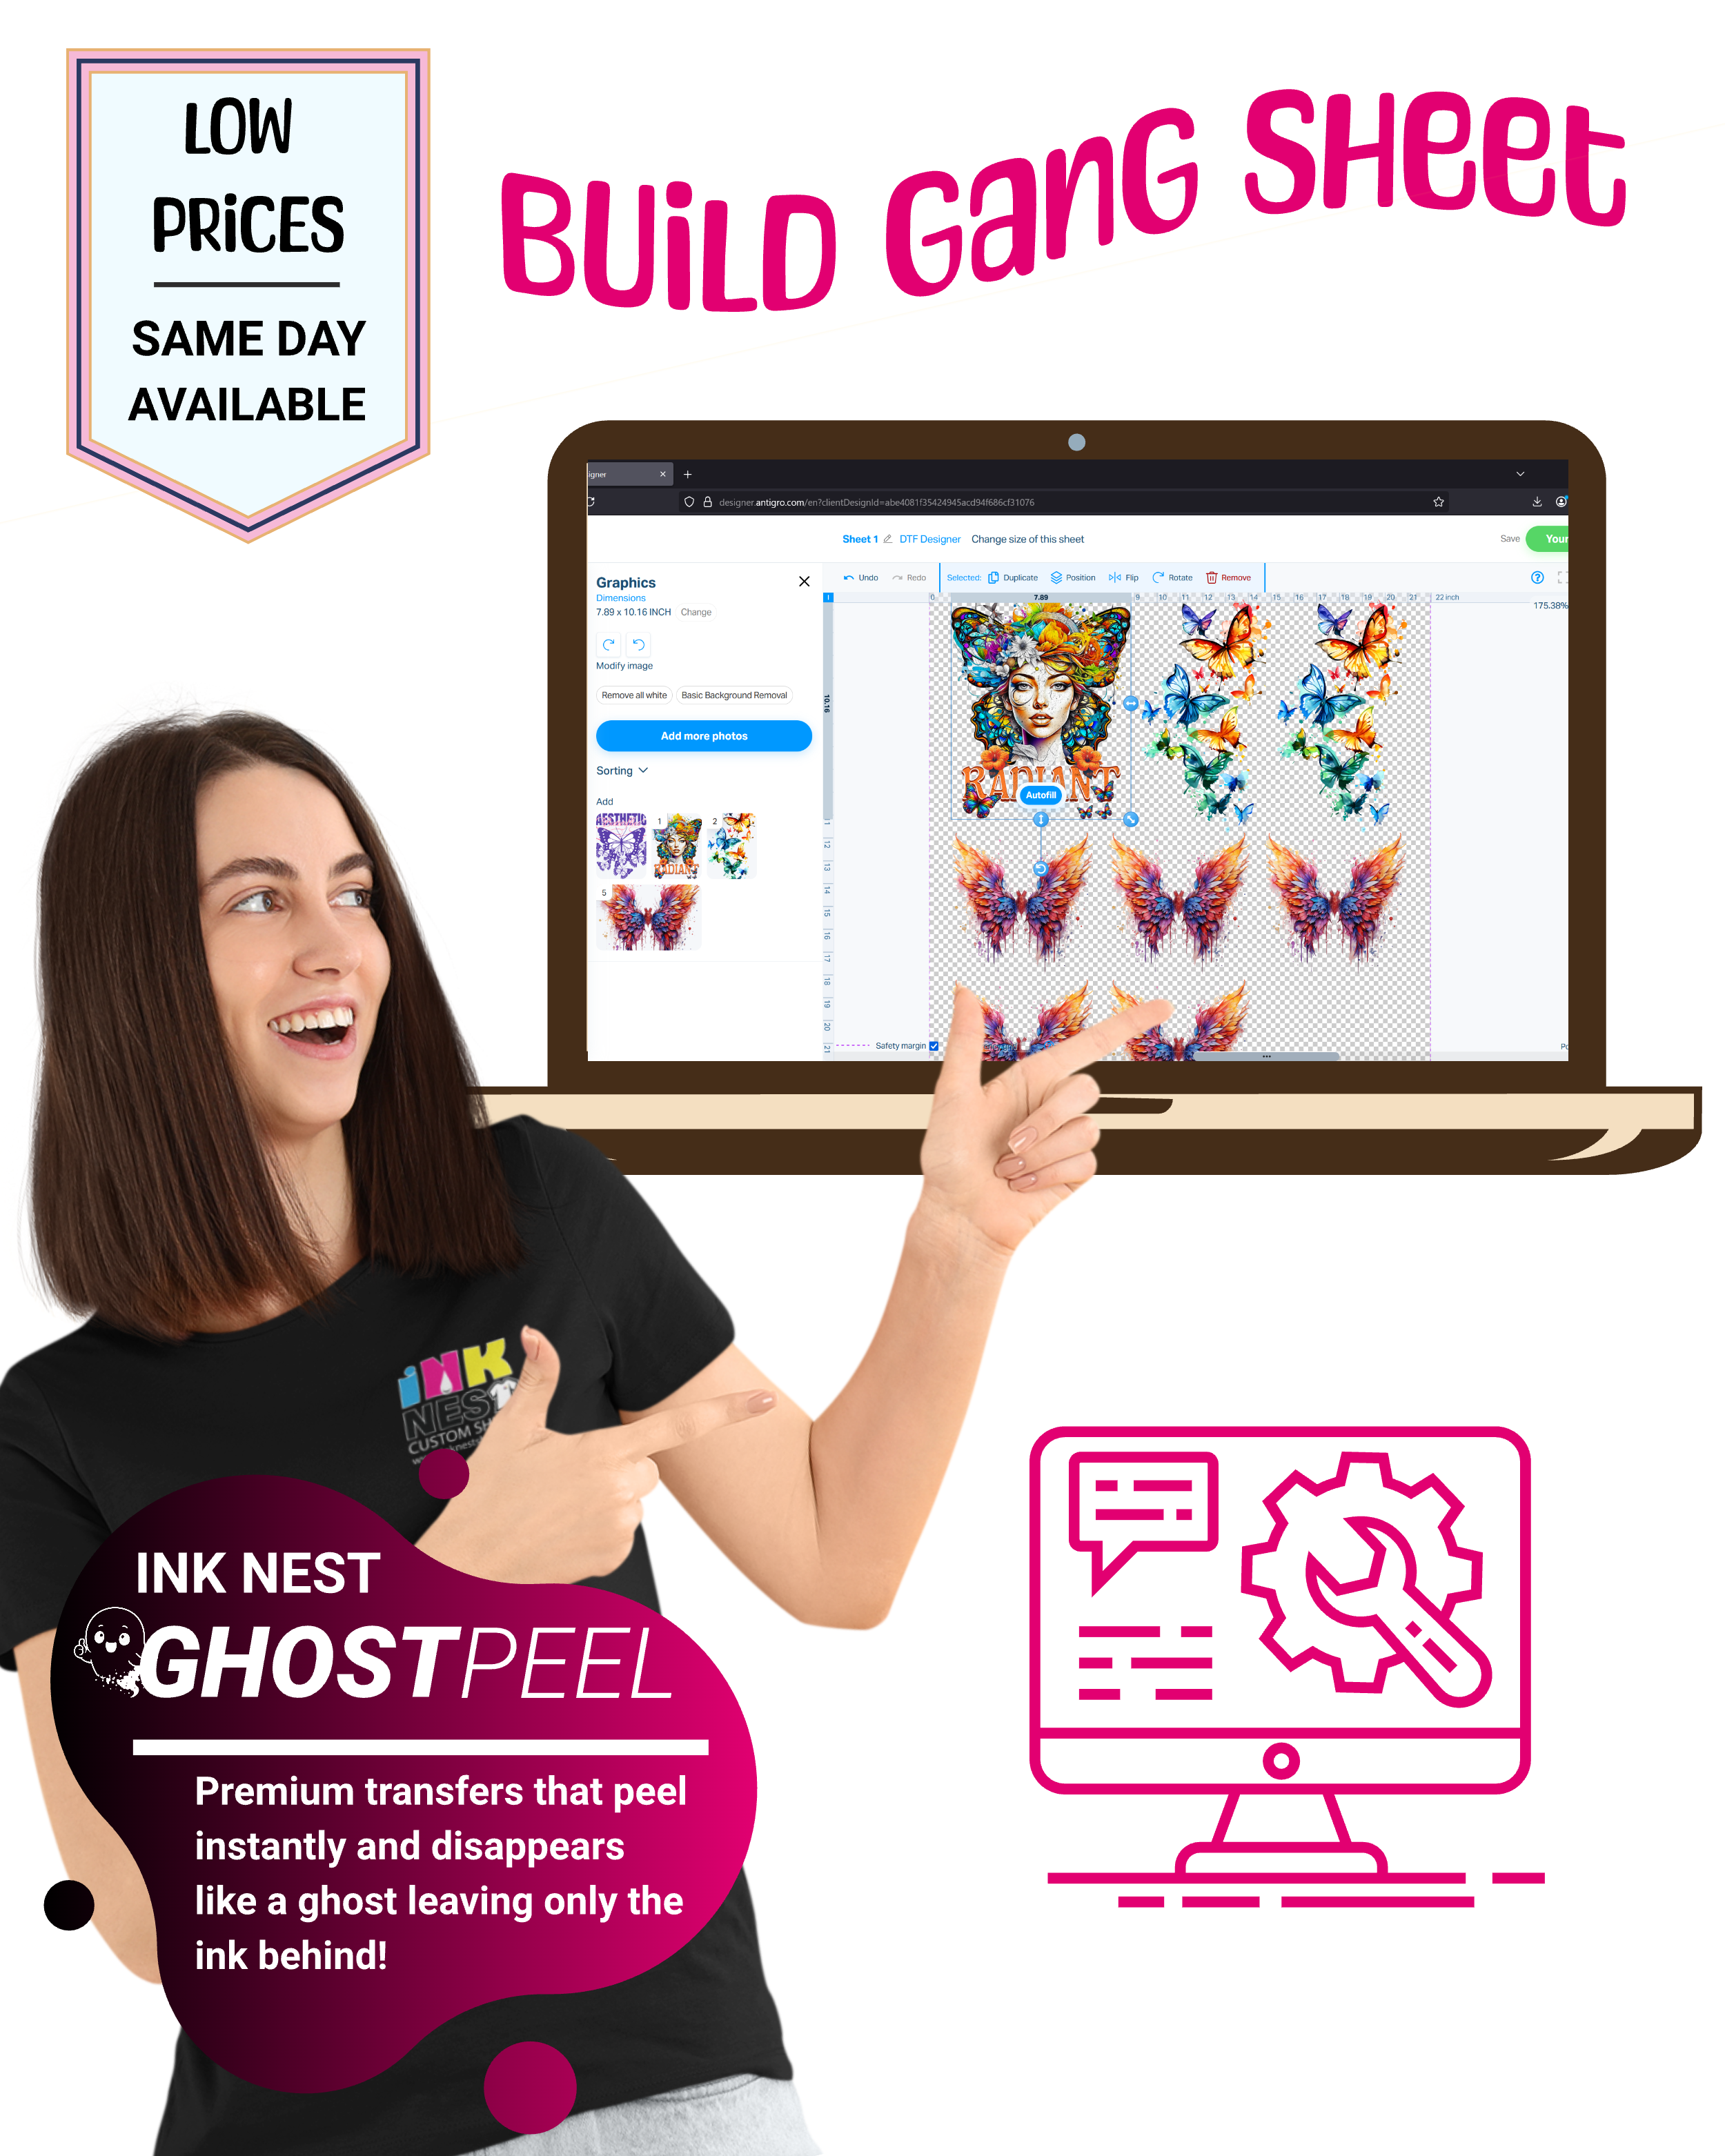
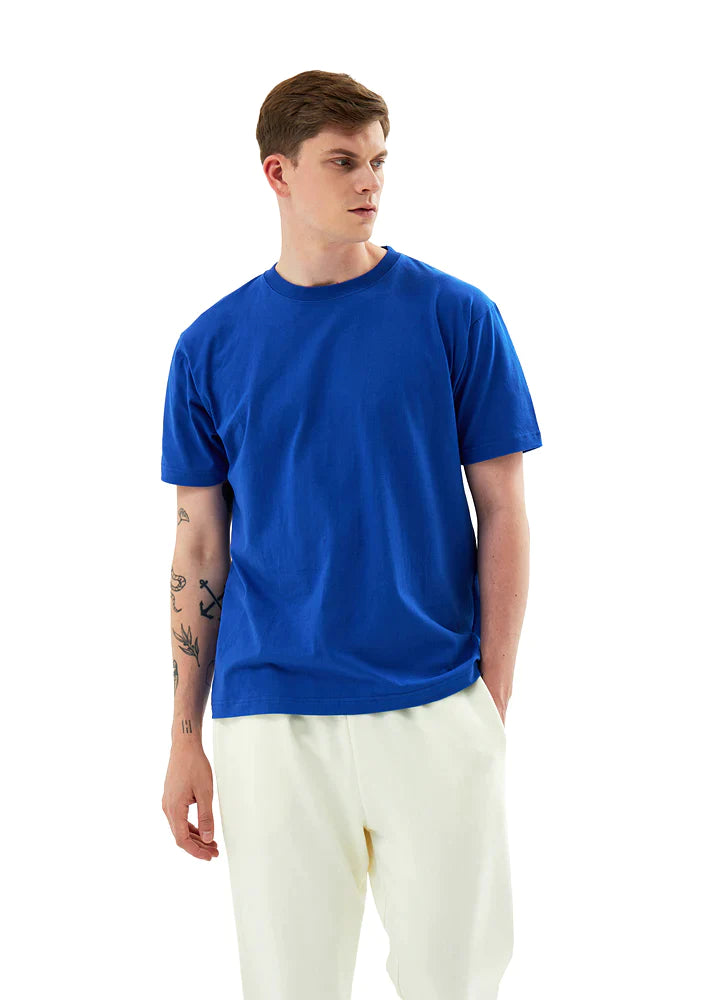
The "Ghost Peel": Unlike standard transfers that make you wait to cool down, we use an instant hot peel technology we call Ghost Peel.
"Premium transfers that peel instantly and disappear like a ghost, leaving only the ink behind!"
-
How it works: As soon as your heat press opens, peel the film immediately. No waiting, no cooling, just instant, professional results.
Why Buy Gang Sheets from Ink Nest?
We don't just hit print. Our Dallas-based team checks your files for transparency issues and resolution before they go to the machine. We use premium ink and premium powder to ensure your transfers aren't just bright—they’re built to last 50+ washes.
Plus, with our signature Ghost Peel technology, you can speed up your production time significantly. No more waiting around for shirts to get cold—just press, peel, and move on to the next one.
Ready to get started?
-
Need help building your layout? Use our [Online Gang Sheet Builder] to drag and drop your designs into a perfect layout.
-
Already have your file ready? Upload your [Print-Ready Gang Sheet File] here and we'll get to work immediately.
Address: 2525 Royal Ln. Suite #310, Dallas, TX 75229, United States
Email: sales@inknestshirts.com
Phone: +1 (817) 881-7881
Business Hours:
Monday to Friday: 10 A.M - 5 P.M
Saturday: 10 A.M - 3 P.M
Sunday: CLOSED

